UE4實現簡單的(de)插件(jiàn)開發VS2015
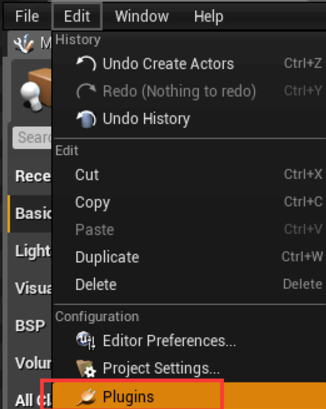
1. 從Editor中生成(chéng)一個空的C++插件模板
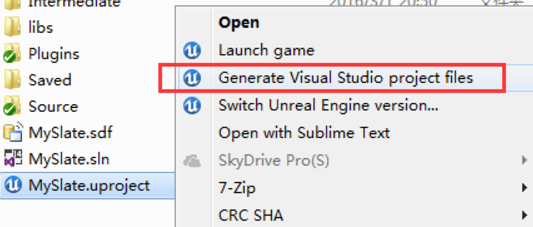
2. 關掉(diào)vs,右鍵(jiàn)生成一下工程(chéng)文件(jiàn),把Plugins掃進去
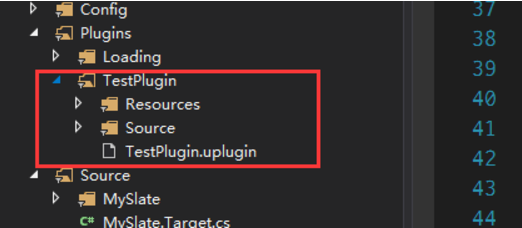
打開解(jiě)決方案(àn)開始編寫插件,插件加進來了
3. 編寫插件
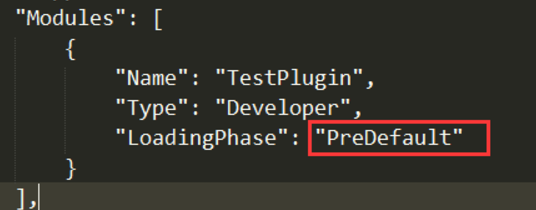
首先把插件的配置文TestPlugin.uplugin件改一下(被這(zhè)個坑(kēng)了兩天)
這個LoadingPhase的值默認為Default,必須修改為PreDefault,不然重啟Editor會報關聯不上插件源碼的錯誤,切記!
修改編譯模塊配置TestPlugin.Build.cs文件,c#文件(jiàn)

詳細代碼,有注釋 !
using UnrealBuildTool;
using System.IO; //路徑獲取需要用到IO
public class TestPlugin : ModuleRules
{
private string ModulePath //當前TestPlugin.Build.cs文件所在(zài)的路徑
{
get { return Path.GetDirectoryName(RulesCompiler.GetModuleFilename(this.GetType().Name)); }
}
private string ThirdPartyPath //這個插件引用的第三(sān)方庫的目錄
{
get { return Path.GetFullPath(Path.Combine(ModulePath, "../../ThirdParty/")); }
}
private string MyTestLibPath //第三方庫MyTestLib的目錄
{
get { return Path.GetFullPath(Path.Combine(ThirdPartyPath, "MyTestLib")); }
}
public TestPlugin(TargetInfo Target)
{
PublicIncludePaths.AddRange( //公有文件搜索路徑
new string[] {
"TestPlugin/Public"
// ... add public include paths required here ...
}
);
PrivateIncludePaths.AddRange(
new string[] {
"TestPlugin/Private" //私有文件搜索路徑
// ... add other private include paths required here ...
}
);
PublicDependencyModuleNames.AddRange(
new string[]
{
"Core"
// ... add other public dependencies that you statically link with here ...
}
);
PrivateDependencyModuleNames.AddRange(
new string[]
{
"CoreUObject",
"Engine",
"Slate",
"SlateCore",
// ... add private dependencies that you statically link with here ...
}
);
DynamicallyLoadedModuleNames.AddRange(
new string[]
{
// ... add any modules that your module loads dynamically here ...
}
);
LoadThirdPartyLib(Target); //加(jiā)載第三方(fāng)庫
}
public bool LoadThirdPartyLib(TargetInfo Target)
{
bool isLibrarySupported = false;
if ((Target.Platform == UnrealTargetPlatform.Win64) || (Target.Platform == UnrealTargetPlatform.Win32))//平台(tái)判斷
{
isLibrarySupported = true;
System.Console.WriteLine("----- isLibrarySupported true");
string PlatformSubPath = (Target.Platform == UnrealTargetPlatform.Win64) ? "Win64" : "Win32";
string LibrariesPath = Path.Combine(MyTestLibPath, "Lib");
PublicAdditionalLibraries.Add(Path.Combine(LibrariesPath, PlatformSubPath, "TestLib.lib"));//加載第三方靜態庫.lib
}
if (isLibrarySupported) //成功加載庫的情況下,包(bāo)含第三方庫的頭文件
{
// Include path
System.Console.WriteLine("----- PublicIncludePaths.Add true");
PublicIncludePaths.Add(Path.Combine(MyTestLibPath, "Include"));
}
return isLibrarySupported;
}
}
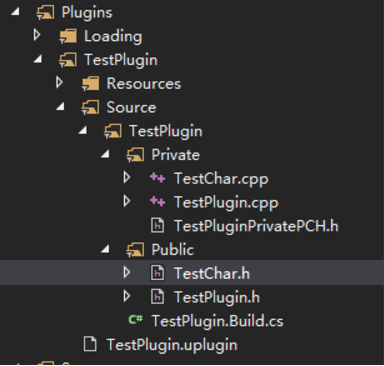
我們寫個自定義的char – TestChar,繼承自Character
先看(kàn)下文件結構,需要藍圖可見的必(bì)須丟(diū)到Public下
先修改預編(biān)譯頭文件TestPluginPrivatePCH.h,必須包(bāo)含CoreUObject,不然編譯不過,切(qiē)記(jì)!
#include "TestPlugin.h"
// UObject core
#include "CoreUObject.h" //默認是不含這個的
// Actor based classes
#include "GameFramework/Character.h" //包插件中所有用的的引擎類都丟到這裏來
頭文件,正常(cháng)編寫自定義的類一樣
#pragma once
#include "GameFramework/Character.h"
#include "TestChar.generated.h"
UCLASS()
class ATestChar : public ACharacter
{
GENERATED_BODY()
public:
// Sets default values for this character\'s properties
ATestChar();
UPROPERTY(EditAnywhere, Category = "Test Char")
int32 mAge;
UPROPERTY(EditAnywhere, Category = "Test Char")
FString mName;
};
cpp文件,包(bāo)含的是預編譯文件和類的頭文件
#include "TestPluginPrivatePCH.h"
#include "TestChar.h"
#include "TestLib.h" //引入(rù)的第三方庫的頭文(wén)件
ATestChar::ATestChar() : Super()
{
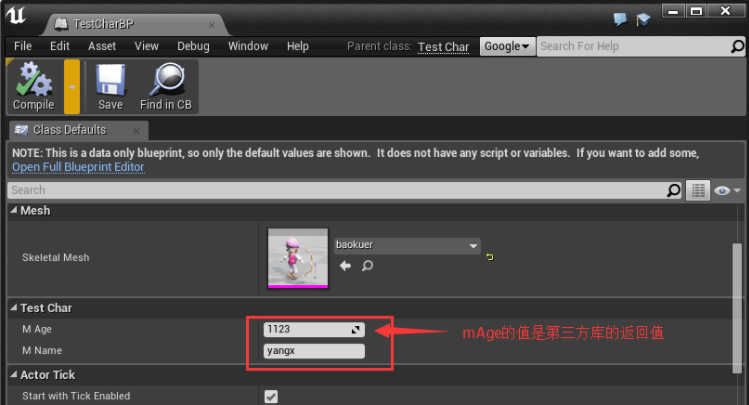
mAge = myPrint("hello world", 123); //第三方庫中的(de)方法
mName = "yangx";
}
第三方庫打成了一個靜態庫TestLib.lib
TestLib.h
#ifndef __TEST_LIB_H__
#define __TEST_LIB_H__
#include
#include
int myPrint(std::string _name, int _age);
#endif
TestLib.cpp
#include "TestLib.h"
int myPrint(std::string _name, int _age)
{
return _age + 1000;
}
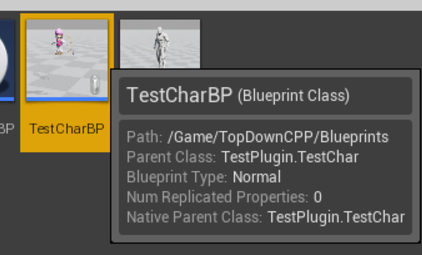
4. 編譯運行,在Editor中create一個Blueprint繼承自這個TestChar類
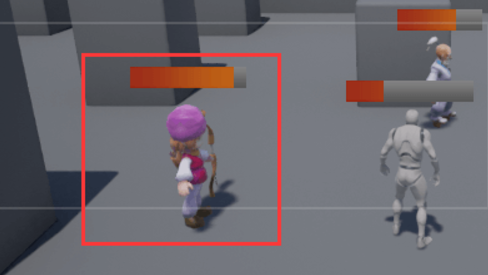
5. 拖到場景運行遊戲
6.WONGLOVE數據手套的UE4插件類(lèi)似於上述方法, 如果您是WONGLOVE用戶(hù),可以(yǐ)聯係我們索取該插件程序。
- 上一篇(piān):Unity3D係統創建人物骨骼動畫模型 2017/8/9
- 下一篇:Hololens開發環境搭(dā)建 2017/7/31